Right
- Welcome to madbeanpedals::forum.
This section allows you to view all posts made by this member. Note that you can only see posts made in areas you currently have access to.
#1
General Questions / Re: Aion Solaris: Reaching unity with volume knob cranked
December 04, 2016, 09:16:20 PM #2
General Questions / Re: Aion Solaris: Reaching unity with volume knob cranked
December 04, 2016, 06:06:18 PM
U sure your R5 resistor is 1 KOhm ?
#3
Open Discussion / Re: DIY Hammered-finish paint
November 17, 2016, 06:22:26 PM
U use Rustoleum Hammered Dark Bronze, and i am more then happy with results ...
#4
Open Discussion / Re: Laser Etching PCBs
November 17, 2016, 06:14:30 PMQuote from: sturgeo on November 14, 2016, 09:54:39 AM
Well, i had a pop at this over the weekend and wasn't very successful.
I sprayed the FR4, let it dry, lasered away all the paint to be etched, popped it in the etchent(Ferric Chloride - MG Chems 415) and nothing... it would appear that enough residue was left behind to stop the process, next time i'll try 2 passes with the laser, it looked as if all the paint had been removed. I probably left it in the etchent for 45mins in the end. I then struggled to remove the paint that was left by hand, probably need to etch it and then run it under the laser to expose all the copper for soldering.
I then tried the usual toner transfer method for the first time, possibly a little too over enthusiastic as i tried to do a 150mm x 100mm board with 16 small pcbs on all at once, after a long soak some have transferred ok, i think i'll wirewool the lot and split it up into smaller pieces, rough it up with some 600-800 grit and try again.
I'm hoping i can get the laser method dialled in as its a lot easier & quicker!
Well, i was using 40 watts laser, and removed paint with 2 passes what removed paint - but leave some thin "dust like" layer what i clean with Magic Eraser and then etch ... You can see results on photo i posted ! Was i clean and fast process !
#5
Open Discussion / Re: Laser Etching PCBs
November 01, 2016, 03:48:04 PM
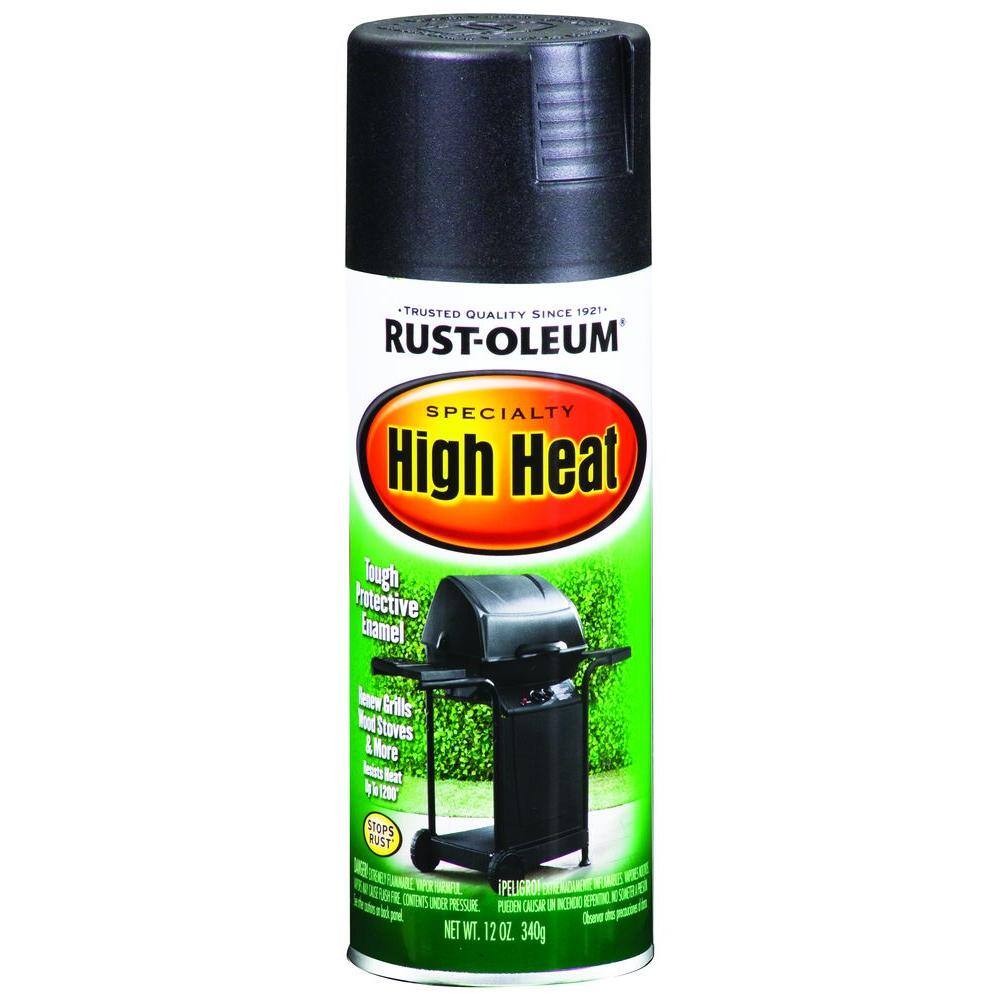
I did, and come out awesome, now - my advice is to use High Temperature grill paint or paint will turn to some kind of messy sticky layer ....
http://www.homedepot.com/p/Rust-Oleum-Specialty-12-oz-Bar-B-Que-Black-Satin-High-Heat-Spray-Paint-7778830/202315061

http://www.homedepot.com/p/Rust-Oleum-Specialty-12-oz-Bar-B-Que-Black-Satin-High-Heat-Spray-Paint-7778830/202315061

#6
Build Reports / Re: Dallas Rangemaster build [for my daughter] :-) Picture Heavy !
September 26, 2016, 12:02:12 AMQuote from: juansolo on September 25, 2016, 01:10:42 PM
Ridiculous skills!
*bows humbly*
BTW, KLON clone ... :-) Tusk PCB ....
#7
Build Reports / Re: Dallas Rangemaster build [for my daughter] :-) Picture Heavy !
September 25, 2016, 11:53:34 AMQuote from: alanp on September 25, 2016, 08:14:33 AMQuote from: komigenie on September 25, 2016, 05:56:30 AM
One more Dallas Rangemaster finished, this time for friend!
I actually find this one far more aesthetically pleasing, beautiful, and elegant than the rapper-fabulous first one
And then there's the inside... better not show your friend directly, the pedal might short out when he drools on it in admiration
Thnx mate, first one was for my daughter, so, was painted for girl

#8
Build Reports / Re: Dallas Rangemaster build [for my daughter] :-) Picture Heavy !
September 25, 2016, 11:51:12 AMQuote from: alanp on September 25, 2016, 08:14:33 AMQuote from: komigenie on September 25, 2016, 05:56:30 AM
One more Dallas Rangemaster finished, this time for friend!
I actually find this one far more aesthetically pleasing, beautiful, and elegant than the rapper-fabulous first one
And then there's the inside... better not show your friend directly, the pedal might short out when he drools on it in admiration
Thnx mate, first one was for my daughter, so, was painted for girl

#9
Build Reports / Re: Dallas Rangemaster build [for my daughter] :-) Picture Heavy !
September 25, 2016, 05:59:25 AM
This time assembled on turret board 


#10
Build Reports / Re: Dallas Rangemaster build [for my daughter] :-) Picture Heavy !
September 25, 2016, 05:56:30 AM
One more Dallas Rangemaster finished, this time for friend!


#11
How Do I? Beginner's Paradise. / Re: Soldering Diodes
September 11, 2016, 12:56:17 AM
For good soldering joint, try to DONT use led free solder ...
For GREAT soldering joint use Cardas Quad Eutectic solder ...
http://www.cardas.com/solder.php

For GREAT soldering joint use Cardas Quad Eutectic solder ...
http://www.cardas.com/solder.php

#12
Build Reports / Re: Dallas Rangemaster build [for my daughter] :-) Picture Heavy !
February 27, 2016, 04:25:42 AM
So, i decide to make an Old's Cool PCB, how i did it when i was 15, and to make this build fully DIY!
So, there you go


So, there you go


#13
Build Reports / Re: Dallas Rangemaster build [for my daughter] :-) Picture Heavy !
February 25, 2016, 01:20:28 AMQuote from: 287m on February 23, 2016, 07:51:32 PM
this must be Dallas Dedicated Daddy for Daughterfour D
yeah, if you always build like that, become daddy daughter dinastythree D
oh man, pair of dedicated daddy and gifted girl is rare. youre the lucky guy in this planet stompbox
Thnx mate

#14
Build Reports / Re: Dallas Rangemaster build [for my daughter] :-) Picture Heavy !
February 23, 2016, 02:30:37 AM
Thnx guys :-)
#15
Build Reports / Re: Dallas Rangemaster build [for my daughter] :-) Picture Heavy !
February 21, 2016, 11:18:34 PMQuote from: Martan on February 21, 2016, 10:28:28 PM
Dude, thats a really great approach!
Just one more question:
Once you cut out the decal, how did you line up all of the little pieces on the enclosure?
I would go crazy just lining up the letters on "input"
There is transfer paper made to apply decals to surface ... https://youtu.be/_3EfD0auu3k
... go to 4:40 of this video !
:-)


